
How to Hang a Shelf on a Sheetrock Wall
Installing a shelf on a sheetrock wall is easier than you think! With a few tools and a little planning, you can create sturdy, stylish storage in under an hour. Follow this simple step-by-step guide.
Tools & Materials You'll Need:
- Shelf
- Shelf Brackets
- Magnets (wrapped in Scotch tape to avoid wall marks)
- Painter’s tape (optional)
- Level
- Drill and ⅛” drill bit
- #2 square drive bit
- Pencil
Step 1: Choose the Shelf Side You Want Visible
Find your shelf’s “good side” - the side that is most visually pleasing to you! Before mounting, decide which side of your shelf should be visible:
- Above eye level → good side faces down
- Below eye level → good side faces up
Step 2: Locate Wall Studs
Use magnets wrapped in tape to sweep across the wall and find the hidden drywall screws—they’ll be screwed into studs.
- When you feel the magnet stick, you've found a screw (and a stud).
- Most studs are spaced 16 inches apart, so find the next one by measuring over.
- Place two magnets vertically on each stud to help line up your bracket placement.
Step 3: Plan Your Shelf Layout
Use painter’s tape to mark your shelf location on the wall. (Do not use a super adhesive tape, like Duct Tape)
Then, hold the shelf in its final position and mark the spots where each stud intersects the shelf.
Step 4: Attach Brackets to the Shelf
- Line up each bracket centered over your stud marks on the shelf.
- Mark the center hole of each bracket on the shelf with a pencil.
- Drill a pilot hole with a ⅛” drill bit at each mark.
- Loosely attach the bracket using the provided 1.5” screw in the center hole.
- Rotate the bracket to align it with the shelf edge.
- Drill the rest of the pilot holes and screw in the remaining two screws to secure each bracket.
Note: It’s okay if the brackets aren’t perfectly even on the bottom—they won’t be visible once installed!
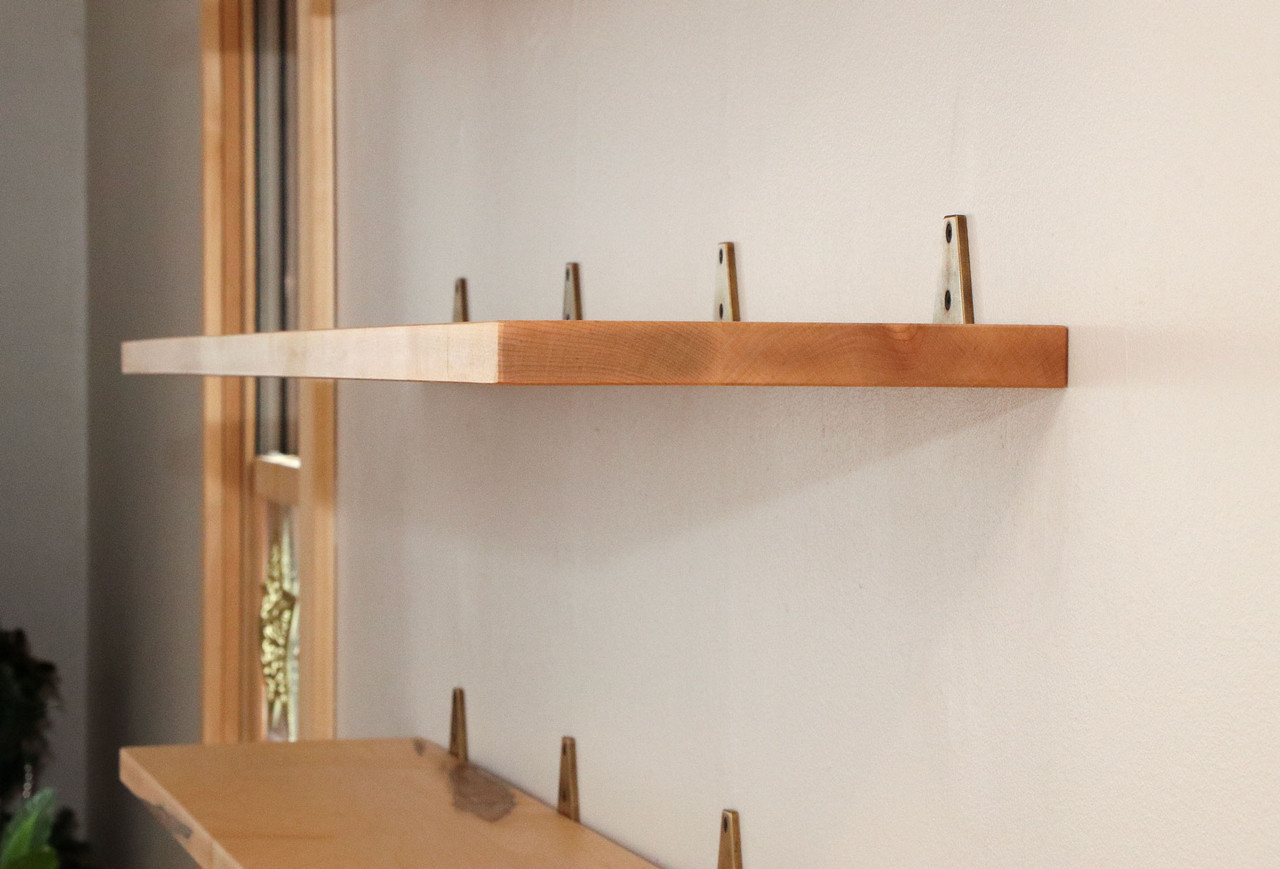
Step 5: Mount the Shelf to the Wall
- Hold the shelf against the wall in the final position.
- Install one provided 2.5” screw through a bracket into the wall (into a stud).
- Place a level on the shelf and adjust until it’s straight.
- Secure the remaining 2.5” screws into the studs through each bracket.
Tip: Don’t overtighten the top screw or it might pull the bracket into the drywall!
And that’s it—your shelf is up and ready to be used for all your storage and display needs!
